
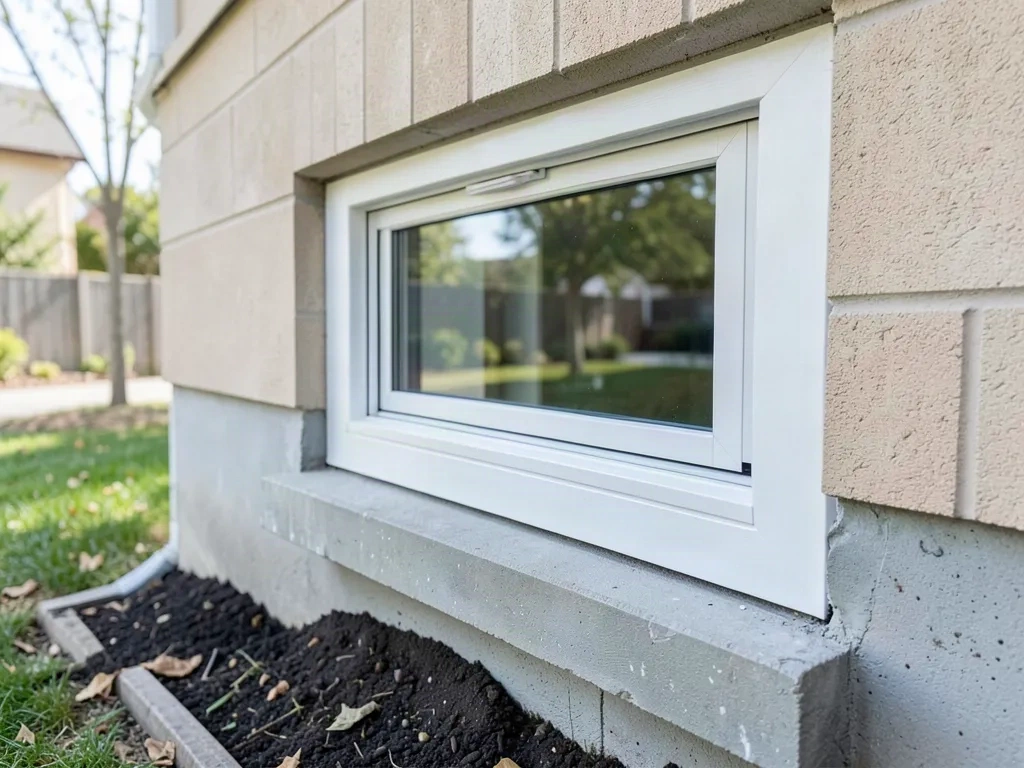
Installing an egress window in a Toronto home takes one to two days of on-site work (plus a free 48-hour quote and permit process), and involves cutting an opening through the foundation wall, installing a reinforced steel window well, adding drainage, and fitting a new egress window — all to Ontario Building Code 9.9.10.1 — for $4,500–$8,000 turnkey.
What's Included in a Standard Installation
Our egress window installation is a complete package, not a "labour only" job. Here's what's on the table:
- New egress window sized to OBC minimums (0.35 m² opening area, 550 mm minimum width, 380 mm minimum height, sill no more than 1,000 mm above finished floor)
- Foundation opening cut with diamond wire sawing or core drilling, prepped for proper structural support
- Steel window well (galvanized or aluminum) installed to meet code depth and clearance requirements
- Window well drainage connected to footing drains or a sump pump, designed for Toronto's clay soil and freeze-thaw cycle
- Waterproofing of the exposed foundation edges and membrane sealing around the window frame
- Backfill, grading, and compaction around the window well so water runs away from the foundation
- Interior finishing of the window rough opening (insulating, vapour barrier, and framing if required for your basement layout)
- Cleanup and debris removal from the excavation site
If you need window well covers, drainage upgrades, or additional basement waterproofing, those are quoted separately. Typical window well covers run $300–$900; drainage and waterproofing usually fall between $500 and $3,000, depending on where the water is coming from.
Pricing and Timelines
Expect to pay between $4,500 and $8,000 for a standard egress window installation in Toronto. The final number depends on:
- Foundation thickness and material (poured concrete vs. block)
- Depth below grade — deeper wells require more steel and excavation
- Access around your home — narrow side yards in older Toronto neighbourhoods add time
- Window size and type (casement, slider, or awning)
- Drainage complexity — connecting to an existing footing drain is cheaper than adding a sump pit
Timeline breakdown:
- Site evaluation: within 48 hours of your call, free of charge
- Permit and engineering (if required): 3–10 business days depending on your municipality (Toronto, Mississauga, Vaughan, Pickering, or wherever you're in the GTA)
- Installation: 1–2 days on site. One day is typical for a straightforward poured-concrete foundation with good access. Two days gives more time for drainage, backfill, and finishing when the conditions need it
- Final inspection: scheduled with your local building department after we finish
We install year-round. Toronto winters don't stop us, but we adjust the drainage design and use frost-resistant materials so the freeze-thaw cycle doesn't shift the window well.
The Step-by-Step Installation Process
Here's exactly what happens, who does what, and how long each step takes.
Step 1: Site Evaluation and Quote (Your Part: 30 Minutes)
You call us at (416) 555-0199 or request a quote online. We come to your home, measure the basement window opening, check the foundation type, look at the grading outside, and inspect the footing drain or sump system. You get a written, itemized quote within 48 hours. No obligation, no pressure.
Your job: Be home for the evaluation, tell us about any water history in the basement, and show us where your electrical panel and sump pump are located if you have one.
Step 2: Permits and Engineering (Your Part: Sign the Paperwork)
In most GTA municipalities, an egress window installation requires a building permit because it involves an opening in the foundation. We handle the permit application and, if the wall is supporting, coordinate any structural engineering review. You just sign the application.
Your job: Provide proof of property ownership and sign. We take care of submitting, paying, and scheduling inspections.
Step 3: Excavation (Day 1, Morning – Our Part)
We start by digging down along the outside of your foundation wall to expose the area where the new window goes. Depth depends on the sill height of your finished basement floor, but typical excavations go down 1.5 to 2.5 metres. We hand-dig the last section near the footing to avoid hitting utility lines.
We protect the work area with plywood and fencing so soil doesn't spread across your yard. In narrow Toronto side yards, we may need to use a compact excavator; if there's zero access, we dig by hand — which adds time but gets the job done.
Your job: Move any stored items, patio furniture, or landscaping away from the work area. Keep kids and pets clear. If you have decorative stone or interlocking brick, we'll do our best to preserve it, but some disturbance is unavoidable.
Step 4: Cutting the Foundation (Day 1, Midday – Our Part)
We cut the opening using diamond wire sawing or a core-drill system. This is precise, low-vibration work. We're cutting through rebar and concrete, not jackhammering — jackhammering cracks foundations. The cut is measured to fit the window frame with the correct clearance for flashing and waterproofing.
Once the concrete block is removed, we inspect the rebar and, if necessary, tie new rebar into the sides for structural continuity. We then install a pressure-treated buck (frame) to support the raw concrete edges.
Your job: Stand back. There will be dust if you're in the basement, but our crews use industrial vacuums and plastic barriers. You may notice some vibration but nothing that should concern you — if you're not sure, ask before the cut starts.
Step 5: Drainage and Waterproofing (Day 1, Afternoon – Our Part)
This is the step that separates a dry egress window from a leaking one. We install a drainage layer of washed gravel laid over a perforated pipe system connected to your existing footing drain or sump pump. No gravel, no pipe — no good. We also apply a waterproof membrane around the entire window opening, sealing it to the foundation.
For Toronto homes with high water tables, we recommend upgrading to a full window well drainage system ($500–$3,000) that includes a sump liner or pop-up drain. That's an add-on we'll quote before starting.
Your job: Nothing. This is the most critical step we do.
Step 6: Window and Well Installation (Day 1, Evening or Day 2 Morning – Our Part)
The egress window itself is installed from the outside, set into the buck, leveled, shimmed, and screwed into place. We then install the steel window well, which must sit at least 100 mm above grade and be rated to code. We bolt the well to the foundation, fasten the flange, and caulk the joints.
Your job: Pick out your preferred window style and operation if you have a choice before install day. We typically install casement windows for egress because they have the largest clear opening.
Step 7: Backfill and Finish (Day 2 – Our Part)
We backfill the excavation in layers, compacting each layer to prevent settling. The top layer is clean topsoil, graded away from the foundation at a slope of at least 5% (about 6 cm over 1.2 metres). Then we replace any sod or seed we removed. We leave the site clean enough that your neighbours won't complain.
Your job: Water the new grass if we seeded. Keep the area clear for 48 hours while the soil settles.
Step 8: Inspection and Handover (Day 2, Afternoon – Our Part)
We call for the municipal inspection and provide you with the final permit documents. If the inspector has comments, we fix them — that's covered by our 10-year workmanship warranty. After inspection, we walk you through the finished window, show you how to operate the locks and release mechanism, and answer any maintenance questions.
Your job: Be home for the inspection if the municipality requires it. Then enjoy your brighter basement and legal exit.
Why Choose Egress Window Pros Toronto
We're a family-run Toronto basement contractor with 12 years of below-grade work and more than 400 egress windows and window wells installed across the GTA. That experience matters in this specific trade:
- Every install is OBC compliant. We don't cut corners on opening sizes, well clearances, or drainage. The permit and inspection are part of the standard process, not an upsell.
- We understand Toronto's ground. Clay soil, heavy rain, and freeze-thaw cycles wreck shoddy window well installations. Our drainage systems are designed for these conditions, not for a dry sunny day.
- Licensed, insured, and WSIB covered. Full coverage for your protection and ours.
- Year-round schedule. No waiting until spring. We install in January as often as July.
- 10-year workmanship warranty. Covers leaks, shifting, settling, and any defect related to our installation. That's the longest in the Toronto egress market.
We serve all of the Greater Toronto Area, from Etobicoke to Scarborough, and across Mississauga, Brampton, Vaughan, Markham, and Pickering. Same process, same crews, same code compliance everywhere.